Removing old tiles. How can we remove floor and wall tiles?
Removing old tiles. How can we remove floor and wall tiles?
One of the first tasks you need to tackle before refurbishing a bathroom is to remove the old tiles from the walls and floor. Surprisingly enough (or maybe not to some people), you do not need a contractor for this. So how can you do it quickly and without problems?
It is a common misconception when planning a make-over for the bathroom that a contractor is needed. You can easily save the money that others spend on a contractor, and instead spend it on the actual make-over. So what do you need to do? Just remove and dispose of the tiles from the floor and the walls. However, this takes some preparations and a good plan to get it right.
Protect the rest of your home from dust and debris
Good preparations are essential for this job. You need to find the best way of protecting the other rooms at home from the dust and debris, an unavoidable aspect of the tile removal process. The best and most effective solution is to seal off the work place with plastic sheets. The best choice is painter’s plastic sheet with factory-fitted adhesive tape, as it is quick and easy to install. Use it on all the floors and walls you wish to protect inside the bathroom, and in the stretch of hallway near the bathroom. This will protect your home from the dust and grime.
Using a hammer drill makes the task easier
Once you have sealed off the area with plastic film to prevent the ingress of dust and debris, you can proceed with removing the tiles. What’s the fastest choice here? Use a hammer drill. This power tool is excellent at removing floor tiles, which usually have a much stronger mortar sticking them to the substrate than wall tiles. However, buying a hammer drill might stretch your budget too far. Instead of buying one, you can rent one instead; renting a hammer drill costs about a tenth of the purchase cost per day.
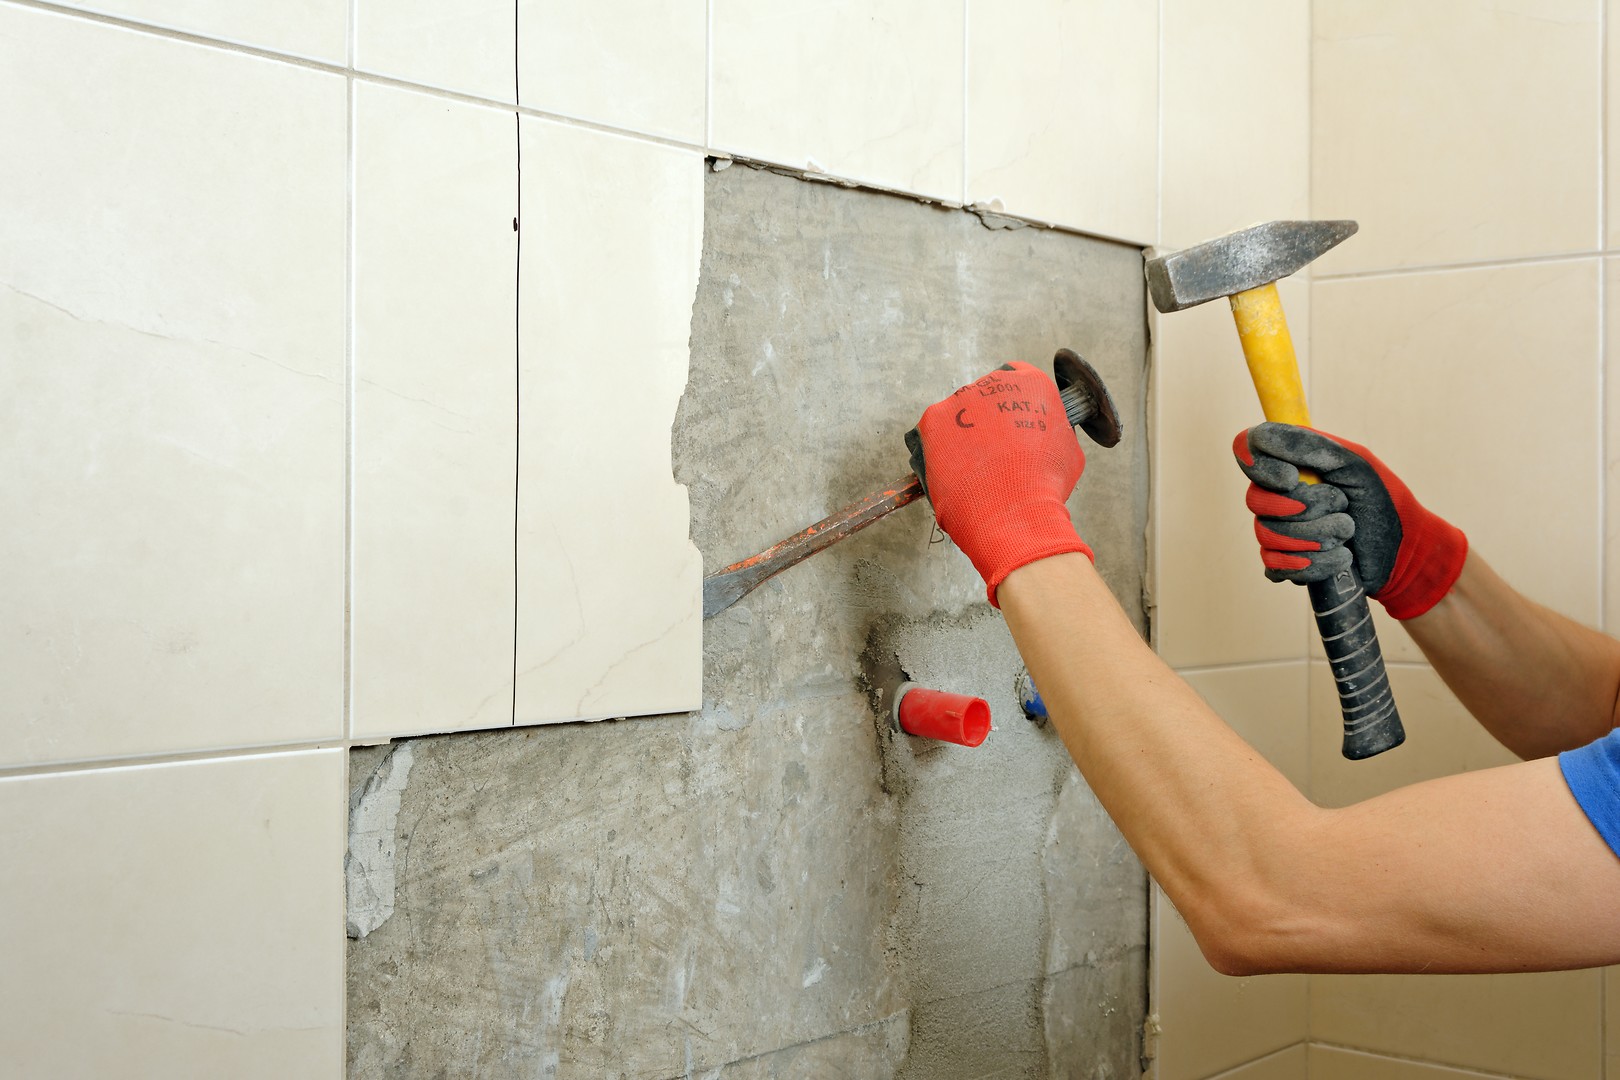
The old-school way: a hammer and a chisel
The simplest and most budget friendly option is a hammer and a chisel. You might already have them at home. However, this requires a lot of heavy manual labour, and is also the most time consuming option. On the other hand, they are great for removing of single cracked tiles.
Done with the tiles? Now, about that tile mortar...
Removing the tiles is not the end of it. Whether you plan to paint or retile, you still need to remove all the patches of old tile mortar so as to create a level substrate. You can either do it the same way as with the tiles, or use a pneumatic grinder.
See more tips in this category
-
FRESH SYSTEM - a guarantee of freshness
The WC concealed systems with the FRESH SYSTEM feature a dedicated container for toilet fresheners. The ... -
QUICK FIX - universal mounting brackets
The new AQUA WC concealed systems are equipped with very handy QUICK FIX wall brackets for easy ... -
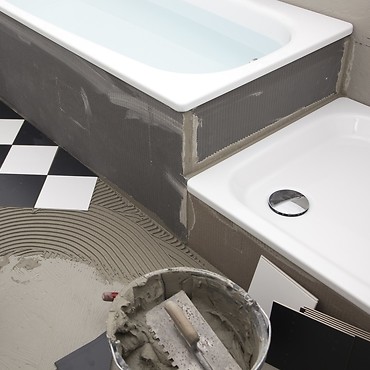
Bathtub installation — the most common mistakes and how to ...
The bathtub is usually the central point of the bathroom. The place that is associated not only with ...