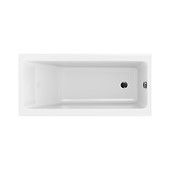
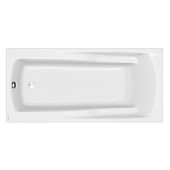
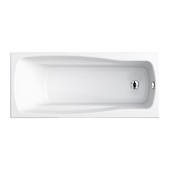
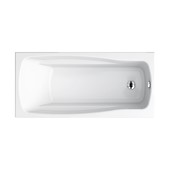
Bathtub installation — the most common mistakes and how to avoid them?
Bathtub installation — the most common mistakes and how to avoid them?
The bathtub is usually the central point of the bathroom. The place that is associated not only with hygiene, but also with comfort. And to make sure it can be used without any problems, it must be installed properly. How to avoid the most common installation mistakes and their potential consequences?
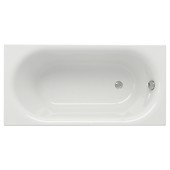
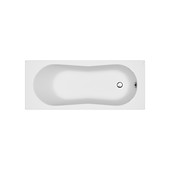
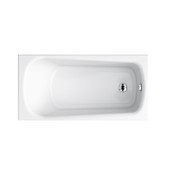
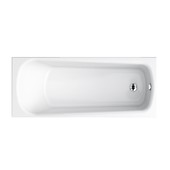
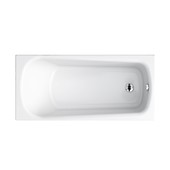
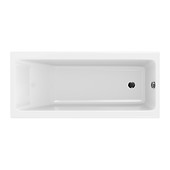
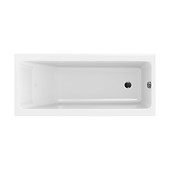
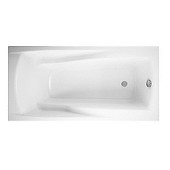
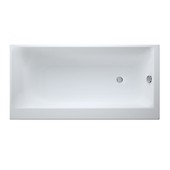
The installation of a bathtub, as well as the installation of a shower stall and a shower base (which is the case described here), should start with the selection of the right model. The right model, i.e. one that meets our aesthetic expectations and at the same time matches the specificity of the room. There are many options and models to choose from — rectangular and corner tubs, built-in and free-standing tubs...
While the installation of the latter basically boils down to the preparation of the surrounding walls and floors, and at the main stage — to the installation of the drain, in the case of built-in bathtubs, the installation is slightly different.
Free-standing bathtub installation
If you decide on a bathtub with feet, the installation should start from assembling the channel frame, and attaching the feet to it. During these steps it is very important to use only the screws included in the set. The use of other, longer screws may damage the bathtub. Sometimes the damage may be beyond repair. Not locking the feet or not using special nuts on the feet is a common installation mistake. This can result in deforming or cracking of the bottom of the tub while it is being used.
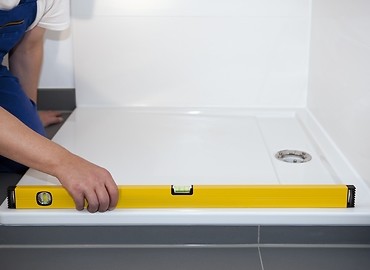
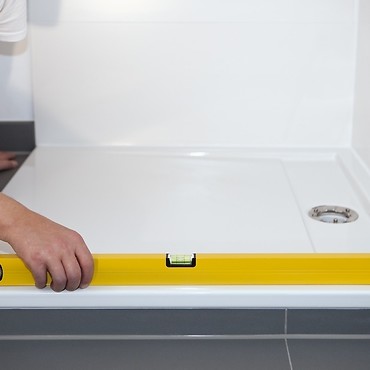
After the installation of the feet, the bathtub needs to be carefully and precisely leveled. Each vertical and horizontal surface should be checked several times until ideal level is achieved. It is important to remember to retain the recommended, necessary gradient in the direction of the drain. It is the only way for the water to flow properly to the sewerage system, and to prevent the unsightly hard water build-up on the bottom of the bath.
Installation of the drain the stage that requires a lot of precision and attention. All gaskets should be placed very carefully in their appropriate places (covering them with dishwashing liquid beforehand is a good idea, as it will make them more flexible), and then all components of the drain should be assembled. For safety reasons, the watertightness of the drain should be checked before the installation of the bathtub is completed. The drain’s tightness should be tested by pouring some water into it. If no leaks are detected, the side panel may be attached, or preparation works for tiling may be commenced — screwing in the panels to the frame, and then the tiles may be laid.
Installation of the bathtub on a polystyrene foam base
Slightly different is the installation of a bathtub seated on special polystyrene foam carriers, which are not only the base of the structure, but also constitute insulation, both water and thermal, and allow to maintain a higher temperature of water for longer.
Depending on which bathtub you buy, the base can be dedicated only to a specific model, or it can be a universal modular base. Installation of both types is very similar. First of all, the base needs to be placed where the bathtub is to stand, then the bathtub needs to be test fitted. If necessary, the shape of the polystyrene base should be adjusted to the bathtub, and all holes for the drain and pipes need to be made as well. Then, after moving the bathtub aside for a while, the drain needs to be installed and checked for tightness.
Once the installation is complete, the based needs to be attached to the floor with adhesive mortar, making sure that it is perfectly leveled. Then the spray polyurethane foam and film are applied to its bottom and sides and the bathtub is mounted in place, once again the level needs to be checked. When the mortar and foam dry up, we can proceed with the installation of the housing.

ADVICE ASIDE
Regardless of whether the bathtub is mounted on feet or on a base, remember to secure the inspection access to the drain. In case of failure, it will let us avoid disassembly of the elements of the tiled housing or even the entire bathtub.
The gap between the bathtub and the wall must be filled carefully and precisely with sanitary grade silicone filler. It is worth waiting with the removal of the protective foil from the bathtub surface until the installation of the drain. This will help us avoid scratches and other minor mechanical damage to the bathtub that may occur during installation works.
See more tips in this category
-
FRESH SYSTEM - a guarantee of freshness
The WC concealed systems with the FRESH SYSTEM feature a dedicated container for toilet fresheners. The ... -
QUICK FIX - universal mounting brackets
The new AQUA WC concealed systems are equipped with very handy QUICK FIX wall brackets for easy ... -
How to install a shower stall with a base yourself?
Contrary to what one might think, the installation of a shower stall with a base, although usually carried ...


