How to install a shower stall with a base yourself?
How to install a shower stall with a base yourself? Step-by-step instructions
Contrary to what one might think, the installation of a shower stall with a base, although usually carried out by teams of renovation specialists, is not at all difficult. A little precision and willingness are enough, as well as scrupulous observance of the order of the necessary works. How to install a shower stall with a base? Here is a brief tutorial.
The main difficulty in installing a shower stall with a base lies in... selecting the right model and positioning it in the right place. Why? Well, the choice of shower base depends on where and at what height the inlet to the waste pipe is located. A tall shower base can be installed basically anywhere, but with a short one the matters are a bit more complicated. The installation will not give us any problems only if the waste pipe inlet is located very low, at the floor level or just above it. If it is located higher, we will not be able to fit the drain and the appropriate pipe connection. Especially since the latter must have an adequate 2-level fall at the least. It is the only way for the water from the shower base to flow trouble-free.
The need to ensure an adequate fall also means that the pipes must not be too long — if you are going to place a shower base far from the waste pipe outlet, the difference in levels will be really big, even a few centimeters. On the other hand, if the distance between the shower base drain and the waste pipe is too short, we may have problems with connecting and fitting the drain and the pipes.
Shower base installation
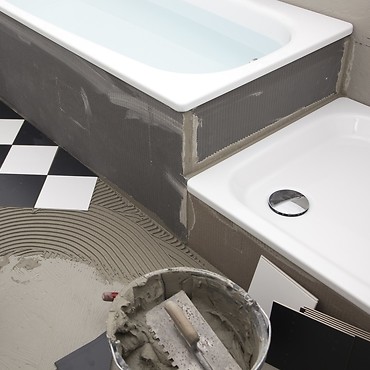
The installation itself should be started from the preparation of the surroundings. The floor and walls should be waterproofed prior to the installation (read more about how to do this here). Besides that, the tiles and grout should also be ready.
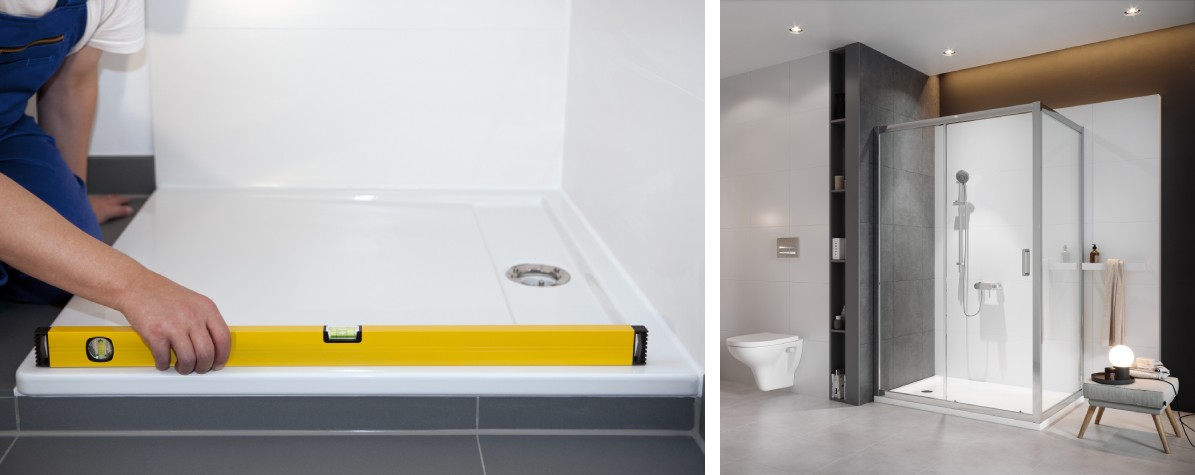
The first step in the installation process is to position the shower base and make sure that everything fits together. At this point it is also a good idea to mark out the location of the drain on the floor using a pencil, it will help us install it later. Then attach the feet to the shower base and level them carefully. Screw the mounts to the side panel on which the tiles are to be laid.
The next step is to assemble the drain and connect it to the waste pipe using a flexible pipe, making sure the gaskets and the aforementioned drain fall are positioned perfectly. Detailed instructions on how to do this can be found on the packaging of the selected drain assembly. The length of the pipe should be adjusted and, if necessary, cut with a saw. It is a good idea to sand down any uneven edges with abrasive paper.
Next, put some silicone or glue on the sides of the previously prepared shower base, position it in its place, check the level and attach it to the walls. After the glue sets, slide the upper part of the drain assembly through the drain hole and screw it together with the part previously connected to the waste pipe. Precision is needed again at this stage — should the gaskets move, the connection will not be tight. Once the drain assembly is in place, it is a good idea to check whether everything has been done properly. Just before completing the works, it is worth checking the tightness of the drain assembly by pouring water into it. Once it passes the test, the feet can be glued to the floor, which will prevent the shower base from moving. The last step is to fix the side panel and filling gaps with silicone. Precision is key in this step. When applying silicone and shaping it with a rubber scraper or finger, it is crucial to fill the gap between the shower base and the wall completely.


Shower stall installation
When the silicone sets, which takes at least 24 hours, we can start installing a shower stall. Start by screwing the elements together using the included screws and a Phillips-head screwdriver or power screwdriver. First, we assemble the lower and upper profiles, then combine them with the vertical profiles and mount the silicone gaskets in the designated places. Do not use sharp tools to avoid damage to the plastic components. It is important not to completely tighten the screws at this stage.
Place the prepared shower stall on the base, level it and mark the connection points on the walls. Put the stall aside for a while, drill holes for the dowels in the marked points, taking care not to damage the tiles. When the holes are ready, apply silicone on the bottom and side profiles of the shower stall, position the stall on the shower base again and fix it to the walls.
The next step is to install shower stall walls and doors. Depending on the model of the shower stall, the process may vary slightly. Carefully fix the runners system, e.g. the rollers on the lower and upper profiles, and ensure that all components are level. The most difficult part is the glass elements. The installation of the glass panes is as follows: first, seal the bottom profile with sanitary grade silicone. Insert the glass pane and the silicone gasket, and tighten the screws. Repeat the whole process with the top profile. Finished doors are fastened to the runners system. Tighten and, if necessary, attach the caps. It is worth remembering that covering the gaskets in a dishwashing agent will make their installation considerably easier. It will make the material more flexible and easier to fit.
See more tips in this category
-
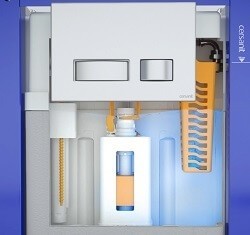
FRESH SYSTEM - a guarantee of freshness
The WC concealed systems with the FRESH SYSTEM feature a dedicated container for toilet fresheners. The ... -
QUICK FIX - universal mounting brackets
The new AQUA WC concealed systems are equipped with very handy QUICK FIX wall brackets for easy ... -
Bathtub installation — the most common mistakes and how to ...
The bathtub is usually the central point of the bathroom. The place that is associated not only with ...