How do you plan and lay a mosaic in the bathroom?
How do you plan and lay a mosaic in the bathroom?

Mosaic is one of the most rewarding bathroom finishing materials. It provides you with amazing design options in both large and small interiors. How can you fully utilise its values? And how do you fix it?
Although it would seem that there is no place for mosaic in modern design trends, dominated by large-format tiles, this could not be further from the truth. Minuscule tiles enjoy unflagging popularity. This is the case partly because they look perfect when combined with different-sized tiles. Regardless of whether you choose ceramic, glass, metal or stone tiles, or their shape - they will allow for a dramatic change of the interior's character. Let's start with a design.
Design your mosaic
Mosaic can be used as base tiles - then you can use it to cover entire walls. It can also be treated as a highly decorative addition - then, laid in vertical or horizontal stripes, it can be used to effectively separate areas with different functions. Mosaic can be used to cover rounded walls, for instance those around walk-in shower units, as well as to decorate the bathtub or washbasin housing. Finally, mosaic enables the creation of real wall paintings - all you need to do is select a suitable tile collection.
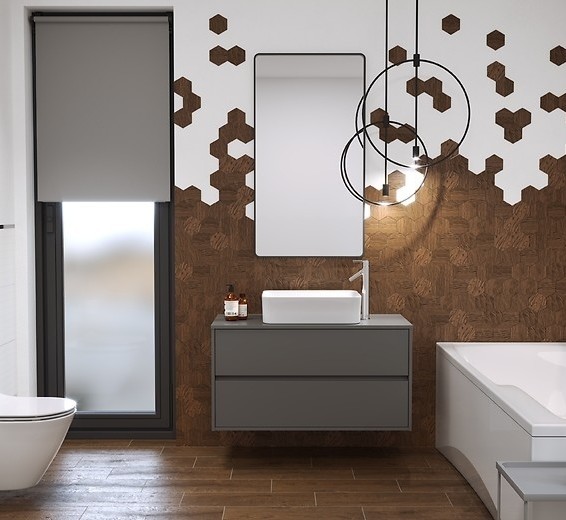
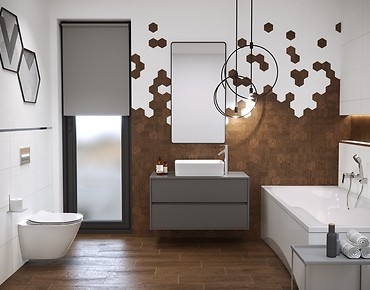
LOVELY WHITE is a good example here. The hexagonal mosaic in ochre breaks up the pure, satin white of large base tiles. The surprising shape of the tiles, particularly when laid in a custom, irregular manner will provide the interior with an avant-garde, dynamic character.
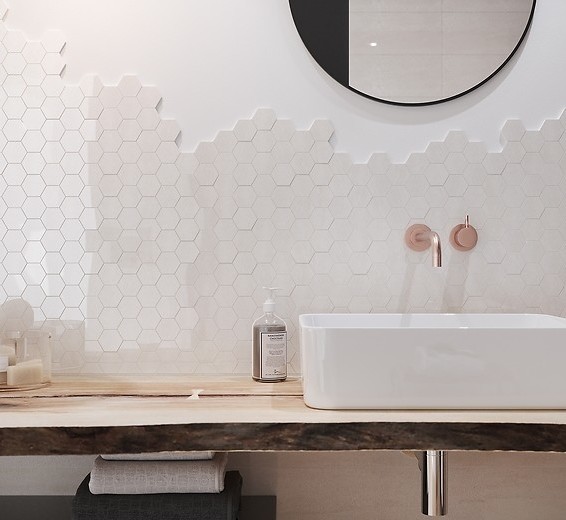
Do not be afraid to experiment and choose tiles inspired by natural materials. The BANTU collection mosaic - as an example - perfectly emulates natural sand. The small, honeycomb-shaped tiles will be perfectly suited over your washbasin and around mirrors.
Laying the mosaic
Laying the mosaic is not as complicated as you imagine. It is sold in sheets, on which individual tiles are connected with tape, plastic mesh, and sometimes they are not entirely separated. Therefore, in principle, this task is quite reminiscent of fixing larger tiles. You have to prepare the walls in a similar manner - clean, level and prime them.
Before starting to fix the tiles, let's calculate how many rows of tiles/sheets will fit the given space. This will allow us to manipulate the grout in such a manner so that no cutting will be necessary. Dividing the sheet is very easy - just cut the mesh and separate the required number of rows. Small-notched trowel should be used for mosaic. The layer of adhesive should be quite thin. The subsequent sheets should be separated with crosses of the same thickness as the distance between tiles in the sheet. After being laid on the wall, the mosaic should be pressed with a rubber or styrofoam trowel, and the excess adhesive should be removed on an ongoing basis. The grouting looks exactly the same as for larger tiles. How do you do it? About this in our article: Perfect grouts - how do you choose them, and how do you apply them?
See more tips in this category
-
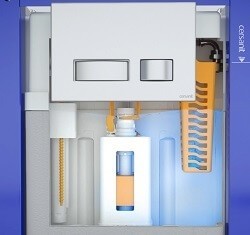
FRESH SYSTEM - a guarantee of freshness
The WC concealed systems with the FRESH SYSTEM feature a dedicated container for toilet fresheners. The ... -
QUICK FIX - universal mounting brackets
The new AQUA WC concealed systems are equipped with very handy QUICK FIX wall brackets for easy ... -
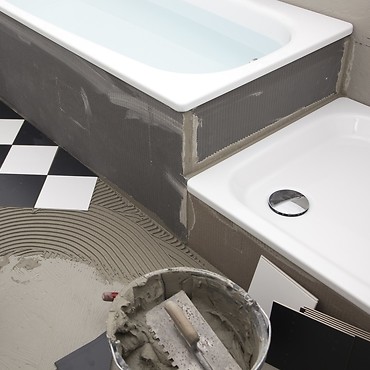
Bathtub installation — the most common mistakes and how to ...
The bathtub is usually the central point of the bathroom. The place that is associated not only with ...